Concrete: DT vs NDT – Discover the key differences between Concrete Destructive Test vs. Non-Destructive Test (DT vs. NDT). Learn why both methods matter, when to use them, and how they help in assessing concrete strength, quality, and safety.
Table of Contents
Introduction
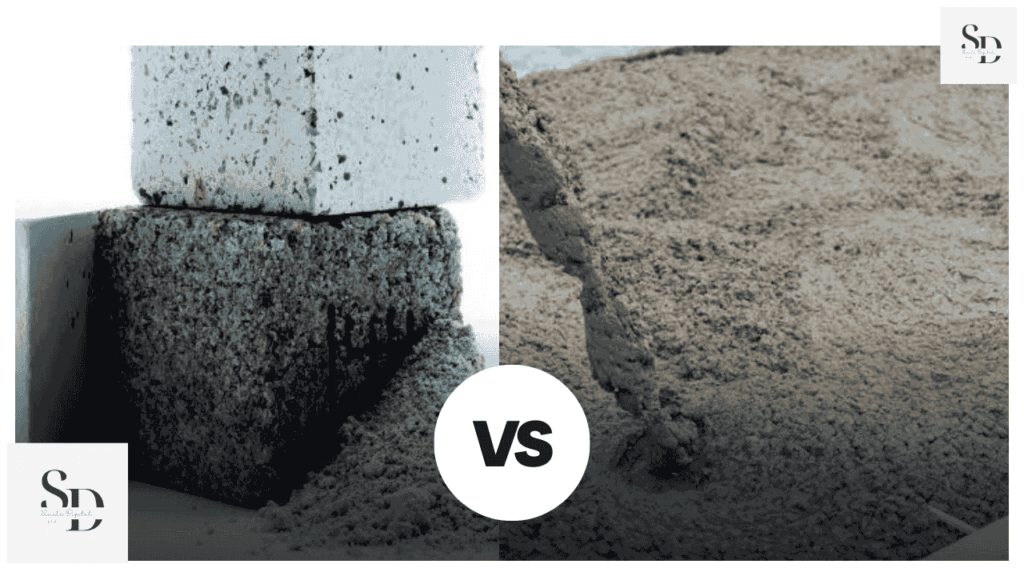
Testing concrete is one of the most important steps in any construction project. Whether you’re building a house, a bridge, or a skyscraper, you need to make sure the concrete you’re using is strong, durable, and reliable. But how do you actually test it? That’s where two major methods come in — Destructive Testing (DT) and Non-Destructive Testing (NDT).
Think of it like this: Destructive Testing is like pushing something until it breaks, just to see how much it can handle. On the other hand, Non-Destructive Testing is more like giving it a check-up without doing any damage. Both methods have their own uses, and both give us different kinds of information about the concrete.
In this blog, we’ll look at what DT and NDT mean when it comes to concrete, why they’re important, and which tests fall under each category. We’ll also see where and when each method is used in real-life construction work. This won’t be filled with complicated terms — just simple explanations anyone can understand.
So, whether you’re a student, a site engineer, or just someone curious about how concrete is tested, this guide will give you a clear picture of the two main testing approaches: DT vs. NDT.
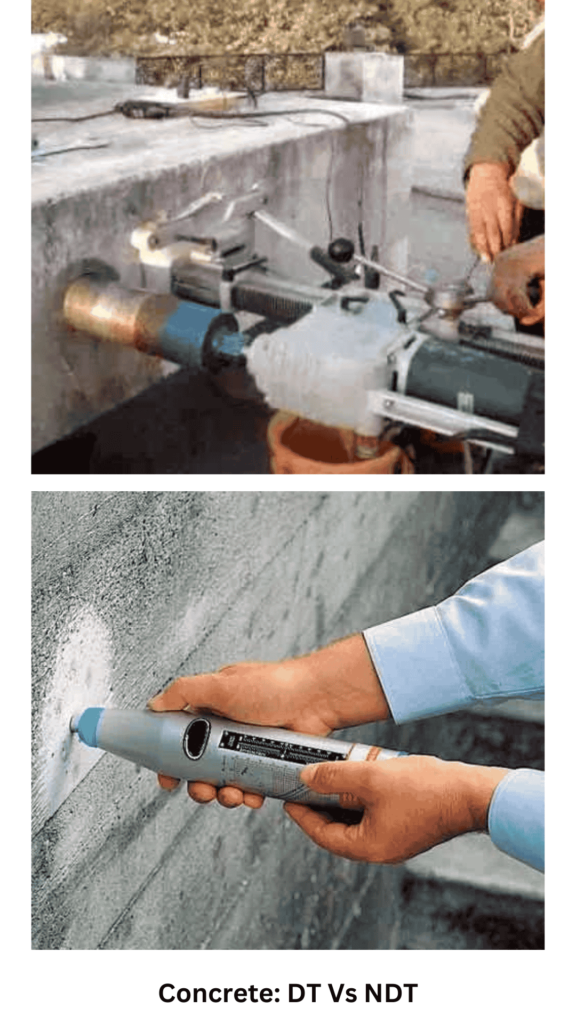
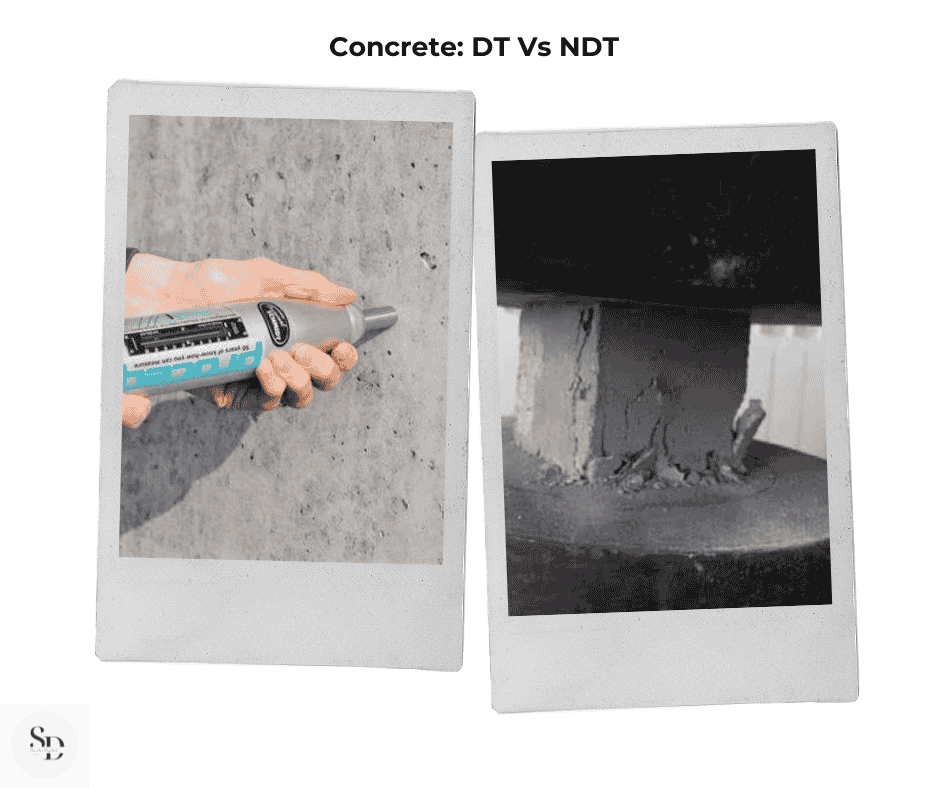
Destructive Test vs. Non-Destructive Test (DT vs. NDT)
Destructive Testing (DT) for Concrete
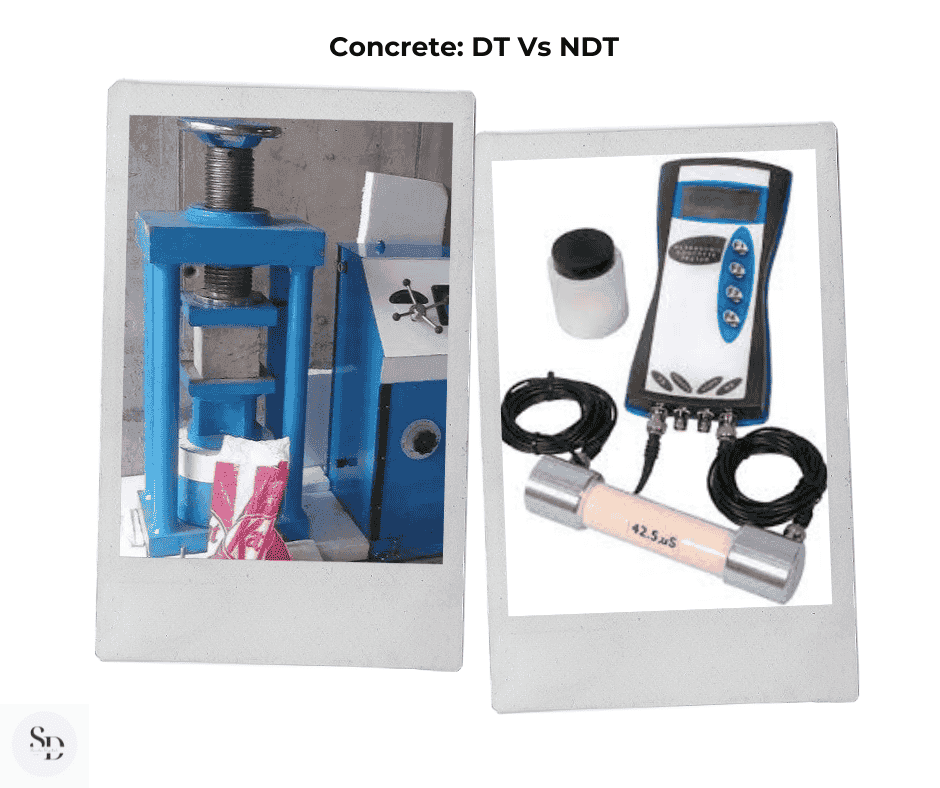
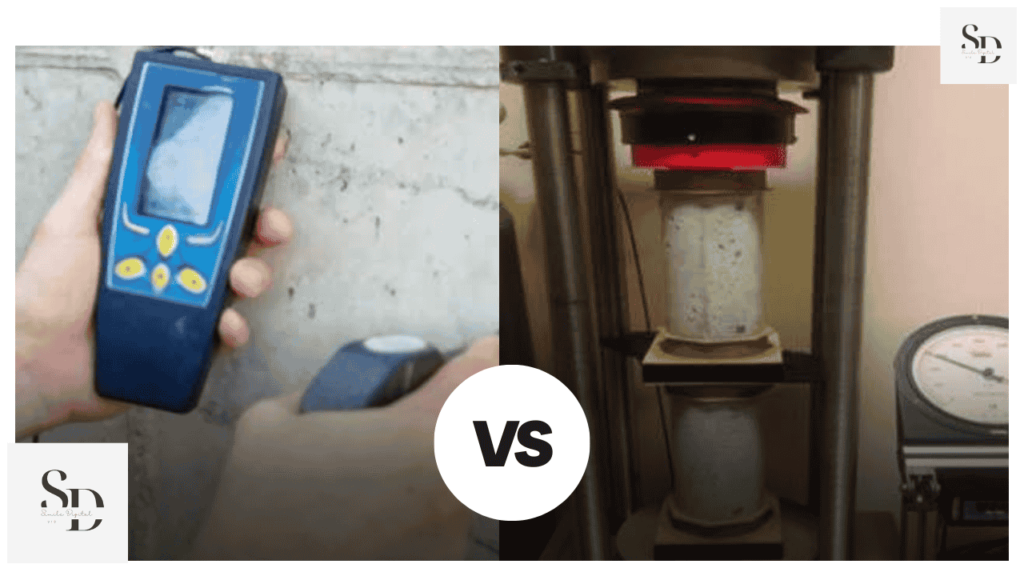
Definition: Destructive Testing for concrete involves applying loads or stresses to concrete samples (like cubes, cylinders, or beams) until they fail or break. These tests help determine the actual strength and behavior of concrete but the specimen gets damaged or destroyed in the process.
Common Destructive Tests for Concrete:
- Compressive Strength Test – Measures how much compressive load a concrete cube or cylinder can bear before failing.
- Flexural Strength Test – Tests the bending (flexural) strength of concrete beams.
- Split Tensile Strength Test – Measures the tensile strength of cylindrical concrete samples.
- Core Cutting and Testing – Core samples are taken from hardened concrete and tested for compressive strength.
- Bond Strength Test (Pull-Out Test) – Determines the bond between concrete and embedded steel or other elements.
- Shear Strength Test – Measures the ability of concrete to resist sliding forces.
- Creep Test – Measures the deformation of concrete over time under sustained load.
- Shrinkage Test – Evaluates how much the concrete shrinks as it dries.
Non-Destructive Testing (NDT) for Concrete
Definition: Non-Destructive Testing for concrete involves techniques that evaluate the quality, strength, or integrity of the concrete without damaging or altering the structure. These tests are ideal for checking existing structures or elements.
Common Non-Destructive Tests for Concrete:
- Rebound Hammer Test (Schmidt Hammer) – Estimates surface hardness and compressive strength.
- Ultrasonic Pulse Velocity (UPV) Test – Assesses concrete quality and detects voids/cracks using ultrasonic waves.
- Penetration Resistance Test (Windsor Probe) – Measures resistance of concrete to penetration from a steel probe.
- Core Sampling (partially destructive, often grouped with NDT) – Extracts samples without major structural damage.
- Ground Penetrating Radar (GPR) – Detects embedded reinforcements, voids, or thickness variations.
- Half-Cell Potential Test – Detects corrosion potential in steel reinforcement.
- Carbonation Test – Measures the depth of carbonation, which can lead to steel corrosion.
- Infrared Thermography – Detects surface temperature variations due to delamination or voids.
- Impact Echo Test – Uses stress waves to find internal flaws and thickness.
- Electrical Resistivity Test – Assesses the likelihood of corrosion in reinforcement by measuring resistivity.
Destructive Tests (DT) for Concrete
1. Compressive Strength Test
Purpose: To find out how much pressure (load) a concrete cube or cylinder can bear before it breaks. This helps us know if the concrete is strong enough for the structure.
Apparatus Used:
- Compression Testing Machine (CTM)
- Concrete cube molds (150 mm x 150 mm x 150 mm) or cylinders
- Tamping rod
- Weighing machine
- Curing tank (water tank)
Procedure:
- Fresh concrete is poured into cube or cylinder molds in three layers. Each layer is compacted using a tamping rod.
- The filled molds are left to set for 24 hours.
- After 24 hours, the samples are removed from the molds and placed in water for curing (usually 7 or 28 days).
- After curing, the samples are taken out, dried, and tested in the CTM.
- The machine applies load until the sample breaks. The reading on the machine tells us the compressive strength.
Result:
- Strength is calculated using the formula:
- Compressive Strength (N/mm²) = Maximum Load / Cross-Sectional Area
2. Flexural Strength Test
Purpose: To check how much the concrete beam can bend before breaking. It’s useful for roads and pavements where bending loads occur.
Apparatus Used:
- Flexural testing machine
- Beam molds (usually 100 mm x 100 mm x 500 mm)
- Tamping rod
- Curing tank
Procedure:
- Concrete is filled in beam-shaped molds in layers and compacted.
- After 24 hours, the beams are removed and kept in a water tank for curing.
- After curing (usually 28 days), the beams are tested in the flexural testing machine.
- Load is applied at two points on the top of the beam until it breaks.
- The machine shows how much the beam bent before failing.
Result:
- Flexural Strength (Modulus of Rupture) is calculated using a standard formula depending on the loading type.
3. Split Tensile Strength Test
Purpose: To find out the tensile strength of concrete, i.e., how much it can resist pulling apart.
Apparatus Used:
- Cylindrical molds (150 mm diameter x 300 mm height)
- Compression Testing Machine
- Plywood strips (optional for uniform load distribution)
Procedure:
- Fresh concrete is poured into cylindrical molds and compacted.
- After 24 hours, the specimens are demolded and cured in water.
- After curing (usually 28 days), the cylinder is placed horizontally in the CTM.
- Load is applied along its length until the cylinder splits into two halves.
- The load at failure is noted.
Result:
- Split Tensile Strength = (2 × Load) / (π × Diameter × Length)
4. Core Cutting and Testing
Purpose: To check the strength of hardened concrete in existing structures (used in quality control and repair assessment).
Apparatus Used:
- Core cutting machine (with diamond bit)
- Compression Testing Machine
- Water for cooling while cutting
- Vernier caliper for measuring core size
Procedure:
- Core samples are drilled out from hardened concrete structures.
- The extracted cores are cleaned and measured for size and length.
- They are capped (if needed) and then tested in a CTM.
- Load is applied until failure.
Result:
- Compressive strength is calculated using the same formula as for cube testing.
5. Bond Strength Test (Pull-Out Test)
Purpose: To evaluate the bond between steel reinforcement and concrete, important for structural integrity.
Apparatus Used:
- Pull-out test machine
- Special formwork with embedded steel bar
- Dial gauge
- Loading arrangement
Procedure:
- A steel rod is embedded in concrete and allowed to cure.
- After curing, a pulling load is applied to the steel bar.
- The force required to pull it out is measured.
- The test may be conducted in labs or at construction sites.
Result:
- Bond strength = Load at pull-out / Contact area between concrete and steel
6. Shear Strength Test
Purpose: To measure the shear resistance of concrete, especially useful for structural members like beams and columns.
Apparatus Used:
- Shear testing machine
- Concrete specimens (special shape for shear testing)
- Dial gauges
Procedure:
- The concrete specimen is placed in the shear testing machine.
- Load is applied in such a way that the specimen is forced to slide.
- The load at which failure occurs is recorded.
Result:
- Shear strength = Load at failure / Area resisting shear
7. Creep Test
Purpose: To find out how much concrete deforms slowly over time under a constant load.
Apparatus Used:
- Loading frame for long-term load application
- Concrete cylinder
- Dial gauge or strain gauge
- Weights for loading
Procedure:
- Concrete specimen is cured and placed under a steady load for a long period (days or months).
- The change in shape or strain is measured over time using dial gauges.
- Deformation data is recorded periodically.
Result:
- Creep strain = Total strain – Instantaneous strain
8. Shrinkage Test
Purpose:
To check how much concrete shrinks as it dries, which can cause cracks.
Apparatus Used:
- Length comparator
- Molds for concrete prisms (e.g., 25 mm × 25 mm × 285 mm)
- Curing tank
- Dial gauge
Procedure:
- 1. Concrete is poured into molds and cured for a few days.
- 2. After curing, the samples are exposed to drying conditions.
- 3. Changes in length are measured using the length comparator.
- 4. Readings are taken over several days or weeks.
Result:
- Shrinkage strain = (Change in length / Original length)
Non – Destructive Tests (DT) for Concrete
1. Rebound Hammer Test
Purpose: To find the surface hardness and estimate the compressive strength of concrete.
Apparatus Used:
- Rebound Hammer (also called Schmidt Hammer)
Procedure:
- Hold the hammer firmly against the concrete surface.
- Push it slowly until the hammer impacts the surface.
- The hammer will bounce back, and a rebound number will appear.
- Take readings from multiple points and calculate the average.
Result:
- Higher the rebound number, higher the concrete strength. A chart is used to convert this number into estimated compressive strength.
2. Ultrasonic Pulse Velocity (UPV) Test
Purpose: To check the quality, uniformity, and presence of cracks or voids inside concrete.
Apparatus Used:
- Ultrasonic Pulse Velocity Machine
- Two transducers (sender and receiver)
- Coupling gel
Procedure:
- Apply coupling gel on the concrete to ensure good contact.
- Place transducers on opposite sides or at the same surface.
- Send ultrasonic waves through concrete.
- Measure the time taken for the wave to pass.
Result:
- Faster pulse = good quality concrete. Slower pulse = possible cracks or weak zones.
3. Penetration Resistance Test (Windsor Probe)
Purpose: To estimate the compressive strength of hardened concrete.
Apparatus Used:
- Windsor Probe Gun
- Steel Probes
- Measuring Scale
Procedure:
- Fire a steel probe into the concrete using the gun.
- Measure how deep the probe goes inside.
- Do this in multiple spots.
Result:
- The shallower the penetration, the stronger the concrete. Depth is compared with standard charts.
4. Core Sampling Test
(Note: This is semi-destructive but often grouped in NDTs.)
Purpose: To assess compressive strength and internal condition of concrete by testing a small core.
Apparatus Used:
- Core Cutting Machine
- Water supply
- Compression Testing Machine
Procedure:
- Drill out a cylindrical core of concrete.
- Measure dimensions and check appearance.
- Test it under compression in a lab.
Result:
- Provides actual strength and visual inspection of internal structure.
5. Ground Penetrating Radar (GPR) Test
Purpose: To locate reinforcement bars, voids, and embedded objects in concrete.
Apparatus Used:
- GPR Scanner Unit
Procedure:
- Move the scanner slowly across the surface.
- It sends radar signals that bounce back from inside objects.
- Software records and displays the readings.
Result:
- Shows location and depth of rebar, pipes, voids, etc., in the concrete.
6. Half-Cell Potential Test
Purpose: To detect the possibility of corrosion in steel reinforcement.
Apparatus Used:
- Copper-copper sulfate reference electrode
- Voltmeter
- Connecting wires
- Wet sponge
Procedure:
- Connect electrode to reinforcement bar.
- Place the reference electrode on the wet surface.
- Measure the potential difference.
Result:
- More negative values indicate higher risk of corrosion in reinforcement.
7. Carbonation Depth Test
Purpose: To check how deep carbonation has penetrated, which may cause corrosion.
Apparatus Used:
- Phenolphthalein solution
- Hammer & chisel or drill
Procedure:
- Break or drill a small part of concrete.
- Spray phenolphthalein on the surface.
- Observe the color change.
Result:
- Pink = safe (alkaline).
- No color = carbonated (risky).
- Measure the depth of colorless zone.
8. Infrared Thermography Test
Purpose: To detect temperature differences on the surface, which may reveal voids, cracks, or delamination.
Apparatus Used:
- Infrared Thermal Camera
Procedure:
- Scan the concrete surface using the camera.
- The camera detects surface temperature differences.
- Analyze the heat map.
Result:
- Cool or hot spots indicate anomalies inside the concrete, like voids or moisture.
9. Impact-Echo Test
Purpose: To find cracks, voids, and delamination inside concrete.
Apparatus Used:
- Hammer or mechanical tapper
- Sensor (displacement transducer)
- Signal analyzer/software
Procedure:
- Tap the surface gently.
- The sensor records sound waves reflected back.
- Analyze wave patterns using software.
Result:
- Different wave patterns help detect depth and location of defects.
10. Electrical Resistivity Test
Purpose : To check risk of corrosion by measuring how well concrete resists electrical flow.
Apparatus Used:
- Wenner Probe
- Resistivity Meter
- Moist sponge (if needed)
Procedure:
- Moist the surface.
- Place the probe with 4 pins on the surface.
- Pass small current and measure voltage.
- Calculate resistivity.
Result:
- High resistivity = good (low corrosion risk).
- Low resistivity = possible corrosion.
Advantages and disadvantages of Destructive Tests (DT) and Non-Destructive Tests (NDT)
Destructive Test (DT)
Advantages
- Accurate Strength Measurement: Gives the exact value of compressive, tensile, or flexural strength.
- Reliable for Mix Validation: Helps in validating the mix design of concrete.
- Benchmark Testing: Used as a standard method for checking quality during lab work.
- Useful for Structural Design Inputs: Helps in structural analysis and safety factor estimation.
Disadvantages
- Permanent Damage: The sample or part of the structure is damaged or destroyed.
- Costly and Time-Consuming: Preparing samples and performing tests require time and money.
- Not Suitable for Existing Structures: Cannot be used directly on standing buildings without causing damage.
- Limited Sampling: Only a few samples can be tested, which may not represent the whole structure.
Non-Destructive Test (NDT)
Advantages
- No Damage to Structure: The testing doesn’t harm the concrete element being tested.
- Quick & Efficient: Most NDT methods give instant results and are easy to conduct on-site.
- Cost-Effective for Large Structures: Ideal for surveying large areas like bridges, buildings, etc.
- Can Be Used Anytime: Great for checking the health of old or already-built structures.
- Data Collection Over Time: Allows repeated tests at different stages for long-term monitoring.
Disadvantages
- Less Accurate Than DT: Gives approximate values, not as precise as DT.
- Influenced by External Factors: Results can be affected by moisture, surface condition, temperature, etc.
- Needs Skilled Technician: Requires experience to interpret the results correctly.
- Sometimes Needs Correlation: Many NDT tests need to be correlated with DT results to be reliable.
Where Can We Apply Destructive and Non-Destructive Tests in Civil Engineering?
Concrete is the most common material for which DT and NDT are performed. However, destructive and non-destructive tests can be conducted on various construction materials and elements beyond just concrete.
DT & NDT Mainly Conducted On:
- Concrete (Primary focus – strength, durability, integrity)
- Steel (For tensile strength, weld quality, etc.)
- Bitumen and Asphalt (Road construction)
- Soil (Bearing capacity, shear strength)
- Bricks and Masonry
- Wood/Timber (Moisture, decay, strength)
- Composites and Polymers (Modern construction)
Books
- Handbook on Nondestructive Testing of Concrete – V.M. Malhotra & Nicholas J. Carino
- Non-Destructive Evaluation of Reinforced Concrete Structures – Christiane Maierhofer, Hans-Wolf Reinhardt & Gerd Dobmann
- Non-Destructive Testing of Concrete – H.W. Reinhardt & G. Grosse
- Concrete Technology – M.S. Shetty
- Advanced Concrete Technology – Zongjin Li
- Concrete Technology: Theory and Practice – M.L. Gambhir
IS Codes for Concrete Testing
- IS 516:1959 – Method of Tests for Strength of Concrete (Destructive Testing)
- IS 13311 (Part 1):1992 – Ultrasonic Pulse Velocity Method (Non-Destructive Testing)
- IS 13311 (Part 2):1992 – Rebound Hammer Method (Non-Destructive Testing)
- IS 1199:1959 – Methods of Sampling and Analysis of Concrete
- IS 456:2000 – Code of Practice for Plain and Reinforced Concrete
- IS 516 (Part 5/Sec 1):2018 – Split Tensile Strength of Concrete
- IS 6461 (All parts) – Glossary of Terms Relating to Cement Concrete
Conclusion
Concrete is the backbone of every construction project, and knowing its real strength and durability is absolutely crucial. Whether you’re working on a massive bridge or a small house, understanding how your concrete performs can save time, money, and lives.
Destructive Testing (DT) methods give us accurate, lab-based strength data but involve damaging or removing a part of the structure. On the other hand, Non-Destructive Testing (NDT) allows us to test concrete without breaking or harming it. It’s faster, cleaner, and often more practical for in-service structures.
In real-life scenarios, both DT and NDT play an important role. DT is ideal for quality checks during construction, while NDT is more useful for inspections after the structure is built or when we can’t afford damage. Combining both can give a full picture of the concrete’s health.
So whether you’re a civil engineer, site inspector, student, or project manager — knowing these tests helps ensure better decisions, safer structures, and longer-lasting projects.
Thank You Note
Thank you so much for taking the time to read this detailed guide on Concrete Destructive and Non-Destructive Testing. Whether you’re brushing up your technical knowledge or using this for professional purposes, I hope it gave you the clarity and understanding you were looking for. Your interest in learning and improving makes a difference in building safer and smarter structures. Keep exploring, keep learning, and always build with quality!
Frequently Asked Questions (FAQs)
Which NDT test is most commonly used?
Is NDT expensive compared to DT?
Can we use both DT and NDT together?
Are NDT methods reliable?
When should we use Non-Destructive Tests?
Which test gives more accurate strength of concrete?
What is the main difference between DT and NDT in concrete testing?
Note for Readers
If you’d like to read this blog in your regional language or any other international language, simply click on the Google Translator option located in the bar at the top of the page. This feature allows you to select your preferred language and enjoy the content in a way that’s comfortable for you. We hope this makes your reading experience more enjoyable and accessible!
Disclaimer
The information shared in this article is for educational and informational purposes only. While we strive to provide accurate and up-to-date content, always consult professional standards, codes, or experts for actual site decisions and technical compliance. Tools and procedures may vary based on location, project size, and updated technologies.
For more exciting topics, explore our other articles here
2 Comments