Concrete Test: Field vs Lab – Understand the difference between field and lab testing of concrete, their importance, and how mix design plays a crucial role in achieving strong and durable structures as per Indian Standards.
Table of Contents
Introduction
Concrete is the backbone of modern construction. From small houses to massive bridges, everything relies on the strength and durability of concrete. But how do we know if the concrete we are using is good enough? That’s where testing comes in.
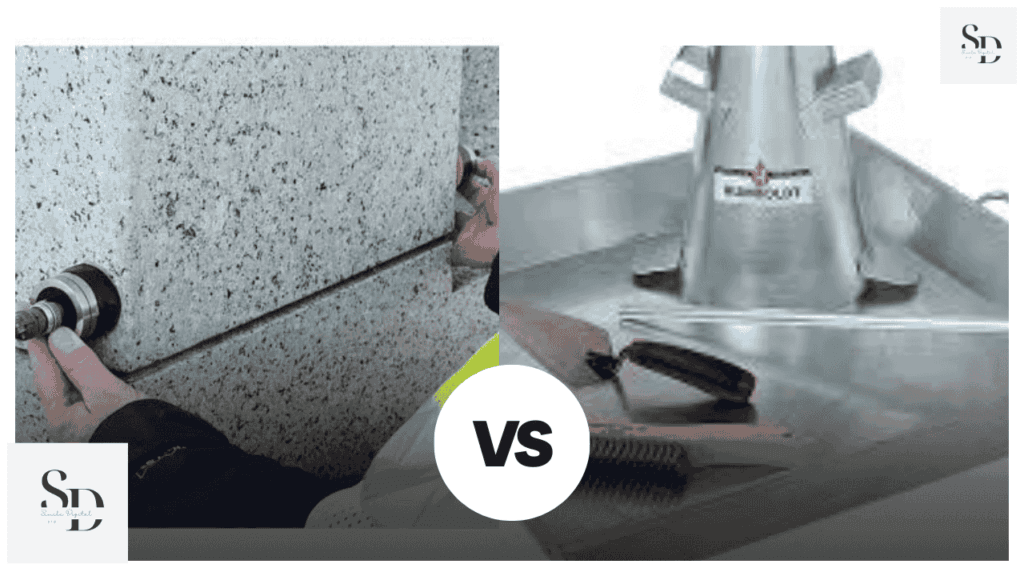
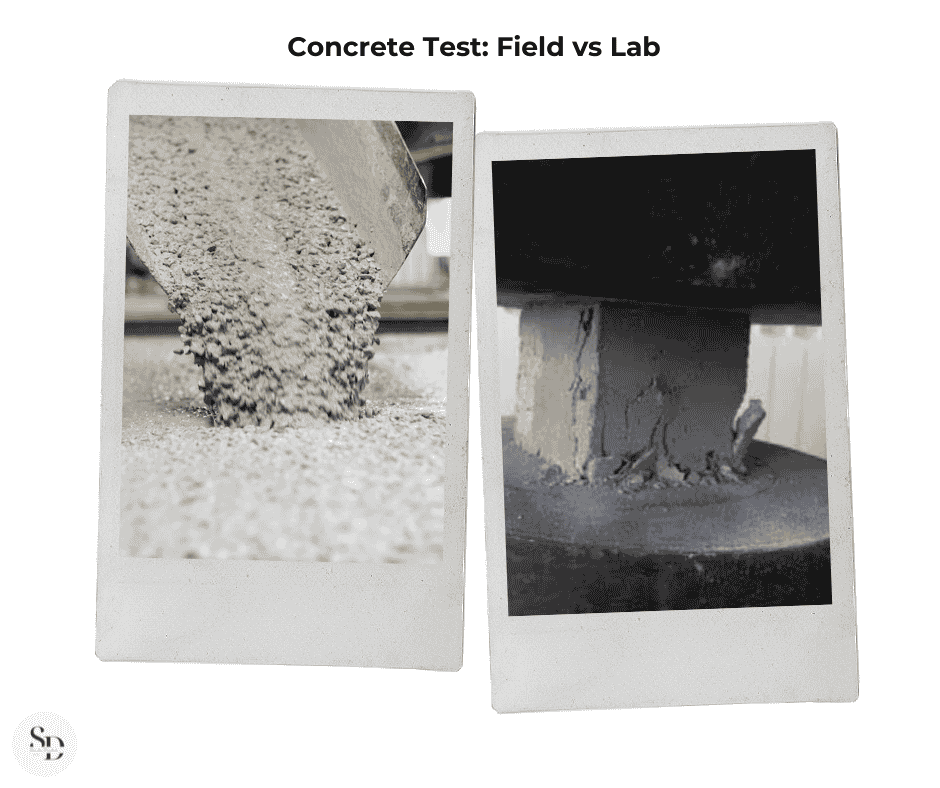
There are two main ways to test concrete – in the field and in the laboratory. Both have their own purpose. Field tests are done on-site to check if the concrete is workable and of the right consistency. Lab tests, on the other hand, are more detailed and precise. They check the strength, durability, and overall quality of the concrete mix.
Another important aspect is mix design. Concrete isn’t just about mixing cement, sand, and water randomly. It needs to be designed properly to get the required strength. Engineers follow specific guidelines to create the right mix, ensuring safety and longevity.
What is Concrete?
Concrete is a widely used construction material made by mixing cement, sand (fine aggregates), coarse aggregates and water. It hardens over time due to a chemical reaction called hydration, forming a strong and durable structure.
Concrete is used in buildings, bridges, roads, dams, and many other infrastructure projects because of its high strength, durability, and versatility.
Properties of Concrete
Concrete has several important properties that define its strength, durability, and workability.
- Compressive Strength – The ability to resist heavy loads (measured in MPa).
- Workability – Ease of mixing, placing, and compacting (depends on water-cement ratio).
- Durability – Resistance to weathering, chemicals, and wear over time.
- Tensile Strength – Concrete is weak in tension, so reinforcement (steel bars) is often added.
- Permeability – Resistance to water penetration (lower permeability = better durability).
- Shrinkage & Creep – Changes in volume over time due to moisture loss or sustained loads.
- Density of Concrete– The density of concrete depends on the mix design and type of aggregates used.
- Plain Concrete: 2200 – 2500 kg/m³
- Reinforced Concrete (RCC): 2400 – 2600 kg/m³
- Lightweight Concrete: 300 – 1800 kg/m³ (used for insulation and non-structural purposes)
- Heavyweight Concrete: 3000 – 4000 kg/m³ (used for radiation shielding)
IS Codes for Concrete
The Bureau of Indian Standards (BIS) provides various codes for mix design, testing, and construction of concrete. Some important IS codes include:
- IS 456:2000 – General code for plain and reinforced concrete.
- IS 10262:2019 – Guidelines for mix design of concrete.
- IS 383:2016 – Specifications for coarse and fine aggregates.
- IS 516:1959 – Methods for testing the strength of concrete.
- IS 2386:1963 – Methods for testing aggregates.
- IS 4031:1988 – Tests on cement.
- IS 1199:1959 – Methods for sampling and analysis of fresh concrete.
- IS 13311:1992 – Non-destructive testing of concrete.
Types of Concrete
Concrete is classified based on its composition, purpose, and method of design. Here’s a detailed breakdown of the different types:
- Based on Composition
(i) Plain Cement Concrete (PCC)
- PCC (Plain Cement Concrete) is a basic mixture of cement, sand, aggregate, and water.
- It does not contain reinforcement (steel bars).
- Used for leveling surfaces, flooring, and base layers before placing RCC.
(ii) Reinforced Cement Concrete (RCC)
- RCC (Reinforced Cement Concrete) includes steel bars to improve tensile strength.
- Used in beams, slabs, columns, and bridges where strength and load-bearing capacity are crucial.
- Based on Strength Grades (IS 456:2000)
Concrete is categorized into different grades, denoted as M (Mix) followed by a number (compressive strength in MPa after 28 days).
Nominal Mix Concrete (For Low Strength Applications)
- M5 (1:5:10) → Used for non-structural work like leveling.
- M7.5 (1:4:8) → Used for small foundations.
- M10 (1:3:6) → Used for pathways and non-load-bearing structures.
- M15 (1:2:4) → Used for PCC work, flooring, and boundary walls.
- M20 (1:1.5:3) → Minimum grade for RCC work (residential buildings).
Design Mix Concrete (For High Strength Applications)
- M25 → Used for reinforced structures like slabs and beams.
- M30 → Used in high-rise buildings, bridges, and heavy structures.
- M35, M40 → Used in roads, pavements, and heavy structures.
- M50 & Above → Used in skyscrapers, dams, and nuclear structures.
- Based on Mixing Method
(i) Nominal Mix Concrete
- Fixed ratio of cement, sand, and aggregate (like M10, M15, M20).
- No laboratory design, used for small projects.
- Example: M20 (1:1.5:3) means 1 part cement, 1.5 parts sand, 3 parts aggregate.
(ii) Design Mix Concrete
- Mix proportions are determined through lab testing to achieve desired strength.
- Used for large projects where precise strength is required.
- Example: M25, M30, M40 (designed as per IS 10262).
- Based on Special Requirements
- Lightweight Concrete → Used for insulation, low weight (density < 1800 kg/m³).
- High-Density Concrete → Used in radiation shielding (density > 3000 kg/m³).
- Self-Compacting Concrete (SCC) → Flows easily, no need for vibration.
- Fiber-Reinforced Concrete (FRC) → Contains fibers (steel, glass, or polypropylene) for extra strength.
- High-Performance Concrete (HPC) → Better durability and strength (used in bridges, marine structures).
5.Market Types of Concrete
- Ready-Mix Concrete (RMC): Mixed in batching plants and delivered by trucks.
- Precast Concrete: Cast in a factory, then transported to site (e.g., concrete blocks, beams).
- Shotcrete: Sprayed concrete, used for tunnel linings and repair works.
Concrete Mix Design Process (IS 10262: 2019)
Concrete mix design is the process of selecting suitable cement, water, fine aggregates, and coarse aggregates to achieve the desired strength, durability, and workability.
Step-by-Step Process of Mix Design
- Grade Selection: Choose the concrete grade (e.g., M25, M30, M35).
- Target Strength Calculation:
f_t = f_{ck} + 1.65 * S
- Ft= Target mean strength
- F ck= Characteristic strength (as per grade)
- S= Standard deviation (from IS codes)
- Water-Cement Ratio Selection: Based on strength and durability requirements (from IS 456: 2000).
- Water Content Selection: From IS 10262: 2019 guidelines.
- Cement Content Calculation: Cement = {Water Content} / {Water-Cement Ratio}
- Mix Adjustments for Workability: Adjust water and admixtures based on site conditions.
- Trial Mixes & Testing: Conduct a slump test and compressive strength test to verify the design.
Destructive and Non-Destructive Tests in Concrete
Concrete tests are classified into Destructive Testing (DT) and Non-Destructive Testing (NDT) based on whether they damage the specimen or structure.
- Destructive Testing (DT)
Definition: Destructive testing involves breaking or damaging the concrete sample to determine its strength and other properties. These tests are used during the quality control process and are performed on samples rather than the actual structure.
Common Destructive Tests:
- Compressive Strength Test – Measures the crushing strength of concrete cubes/cylinders.
- Flexural Strength Test – Determines the bending strength of concrete beams.
- Split Tensile Strength Test – Evaluates the tensile strength of concrete cylinders.
- Abrasion Test – Assesses surface wear resistance.
- Soundness Test – Measures expansion due to volume change in cement paste.
- Water Absorption Test – Determines how much water the concrete absorbs.
Importance of Destructive Testing:
- Provides accurate and direct measurement of concrete strength.
- Used in mix design verification and quality control.
- Ensures that the concrete meets required specifications before use in structures.
- Non-Destructive Testing (NDT)
Definition: Non-destructive testing evaluates the properties of concrete without causing damage. These tests are mainly used for in-situ (on-site) assessments of existing structures.
Common Non-Destructive Tests:
- Rebound Hammer Test – Measures surface hardness to estimate compressive strength.
- Ultrasonic Pulse Velocity (UPV) Test – Determines internal defects and quality by measuring sound wave speed.
- Rapid Chloride Penetration Test (RCPT) – Assesses concrete permeability against chloride ion penetration.
- Half-Cell Potential Test – Detects corrosion of reinforcement in concrete.
- Carbonation Test – Identifies the depth of carbonation to predict durability.
- Infrared Thermography – Detects voids, cracks, and moisture in concrete.
- Core Cutting Test – Extracts a concrete core sample for strength evaluation (partially destructive).
Importance of Non-Destructive Testing:
- Used for maintenance and condition assessment of existing structures.
- Prevents damage to the structure while evaluating its quality.
- Helps in deciding repair and rehabilitation methods.
Key Differences Between DT and NDT
- Damage to Specimen: DT destroys the specimen, whereas NDT preserves it.
- Application: DT is used for laboratory testing, while NDT is used for on-site assessments.
- Cost & Time: NDT is quicker and more cost-effective compared to DT.
- Accuracy: DT provides direct strength measurement, whereas NDT gives an estimate based on indirect parameters.
Tests of Concrete
Field Tests of Concrete
- Slump Test (Workability)
- Compaction Factor Test (Workability)
- Vee-Bee Consistency Test (Workability)
- Ball Penetration Test (Workability)
- Visual Inspection Test (Surface Quality)
Laboratory Tests of Concrete
- Compressive Strength Test (IS 516)
- Flexural Strength Test
- Split Tensile Strength Test
- Water Absorption Test
- Rapid Chloride Penetration Test (RCPT)
- Ultrasonic Pulse Velocity Test (UPV)
- Rebound Hammer Test (Schmidt Hammer Test)
- Abrasion Test (For Pavements & Flooring Concrete)
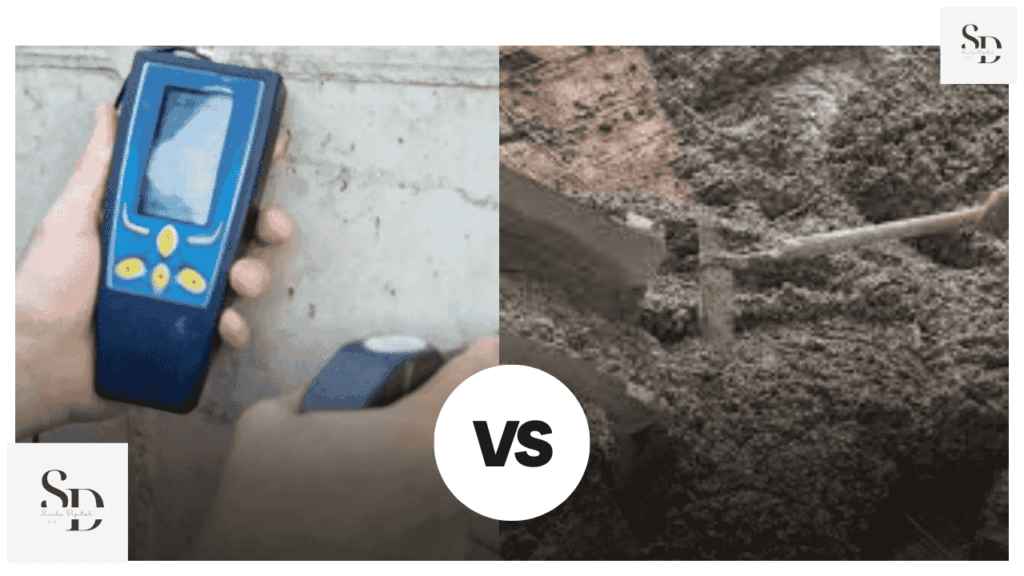
Field Tests of Concrete
Field tests are simple tests done on-site to check the quality of concrete before using it in construction. These tests help in knowing if the concrete is mixed properly, has good workability, and will be strong after hardening.
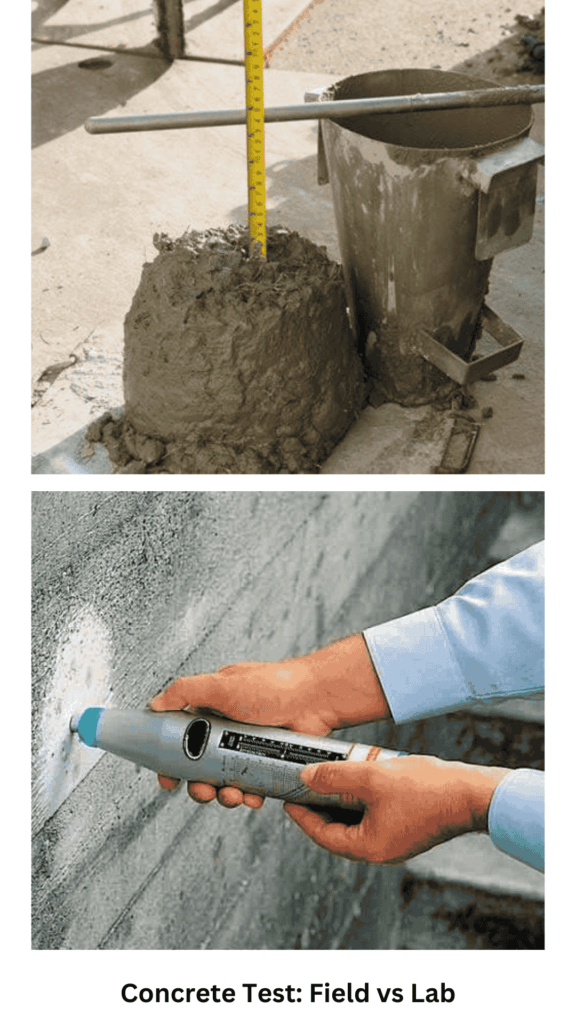
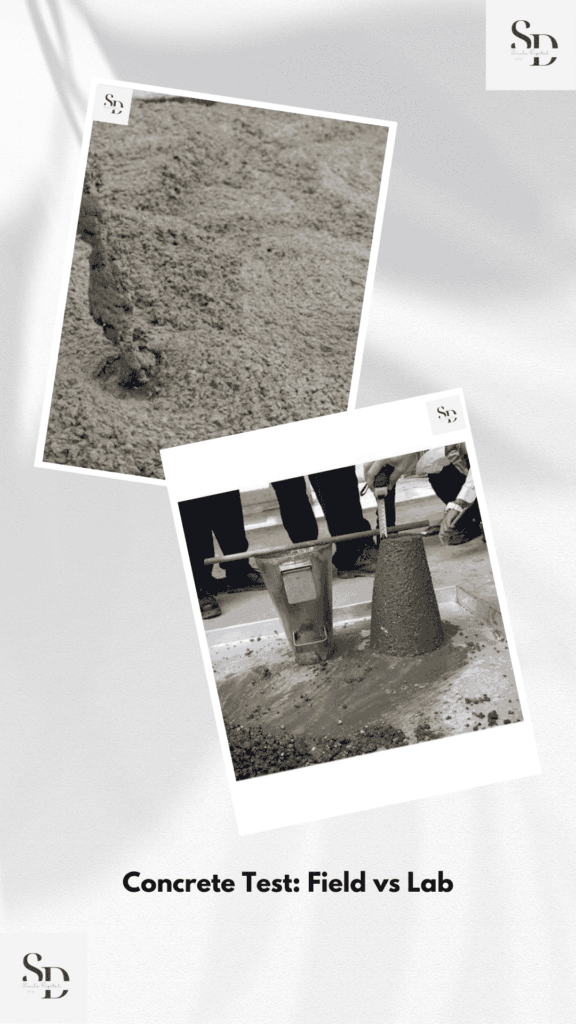
- Slump Test (To Check Workability of Concrete) – The Slump Test helps to check how easily concrete flows. It tells us if the concrete is too dry, too wet, or just right for construction.
Procedure
- Take a Slump Cone (a metal cone-shaped mold).
- Fill it with freshly mixed concrete in Four layers.
- Compact each layer properly by tamping it 25 times using a steel rod.
- Once full, lift the cone slowly and vertically.
- Observe how much the concrete slumps (sinks down).
Result Interpretation:
- Zero Slump → Concrete is very dry (used for road construction).
- True Slump → Concrete maintains its shape but sinks slightly (ideal for structures).
- Shear Slump → Concrete tilts to one side (not good, mix needs adjustment).
- Collapse Slump → Concrete spreads completely (too much water, mix is weak).
Importance – If the slump is too low, the concrete will be hard to work with. If it is too high, it will be weak after hardening. A good slump ensures the concrete is easy to place and strong after setting.
- Compaction Factor Test (To Check Workability Accurately) – This test measures how well concrete compacts under gravity. It is more accurate than the slump test, especially for very dry concrete (used in roads and precast work).
Procedure
- Take a Compaction Factor Apparatus (which has two hoppers and a cylinder).
- Fill the top hopper with fresh concrete and let it fall into the lower hopper by opening a trap door.
- Then, let it fall into the cylinder below.
- Weigh the partially compacted concrete in the cylinder.
- Remove the concrete, refill the cylinder, and compact it fully using vibration.
- Weigh the fully compacted concrete.
Formula:
Compaction Factor = {Weight of partially compacted concrete} / {Weight of fully compacted concrete}
Result Interpretation:
- 0.75 – 0.85 → Dry concrete (used for roads).
- 0.85 – 0.95 → Medium workability (used for beams & slabs).
- Above 0.95 → Very high workability (used for highly reinforced structures).
Importance – It helps in knowing if the concrete will properly compact when placed, avoiding weak spots or voids.
- Vee-Bee Consistency Test – The Vee-Bee Test is used for very stiff concrete, where the slump test does not work well. It measures how long it takes for concrete to become level under vibration.
Procedure:
- Fill a metal container (like the Slump Test).
- Remove the slump cone, letting the concrete settle.
- Start a vibrating table and check the time taken for the concrete surface to become flat.
- This time is called Vee-Bee Time (measured in seconds).
Result Interpretation:
- 0 – 5 sec → Very high workability (fluid concrete).
- 5 – 10 sec → Medium workability (used for general construction).
- 10 – 20 sec → Low workability (used for roads).
- Above 20 sec → Very stiff concrete (used for precast structures).
Importance – It is helpful in testing low-slump concrete and ensures that concrete will compact properly.
- Ball Penetration Test – This is a quick test to check how easily concrete can be placed and compacted.
Procedure:
- A steel ball (weighing 13.6 kg) is dropped into fresh concrete.
- The depth (penetration in mm) is measured.
- More penetration means the concrete is more workable.
Result Interpretation:
- More than 200 mm → Very high workability (too much water).
- 100 – 200 mm → Medium workability (good for most structures).
- Less than 100 mm → Low workability (difficult to place).
Importance – It is very fast and easy to do on-site when no other tools are available.
- Visual Inspection Test (Checking by Seeing & Touching) – This is the simplest test where the concrete is checked by eye and by hand.
Procedure:
- Look at the color → Should be grayish, uniform, and free from lumps.
- Feel the texture → Should not be too sandy or watery.
- Pick up a small amount and squeeze in hand → Should hold its shape but not leak water.
Importance – Even though it is not accurate, it gives a quick idea if the concrete is mixed well or not.
Laboratory Tests of Concrete
Lab tests are conducted in a controlled environment to check the strength, durability, and quality of concrete. These tests ensure that the concrete meets the required Indian Standards (IS Codes) before use in construction.
- Compressive Strength Test
IS Standard: IS 516:1959
Purpose: This test determines the compressive strength of concrete, which indicates its load-bearing capacity.
Apparatus Required: Compression testing machine (CTM), cube molds (150mm × 150mm × 150mm), trowel, weighing balance, curing tank.
Procedure: First, prepare the concrete mix and pour it into cube molds in three layers, compacting each layer using a tamping rod (25 blows per layer). After 24 hours, remove the cubes from the mold and cure them in water for 7, 14, or 28 days. After curing, place the cube in the CTM and apply load gradually until failure occurs.
Result Interpretation:
- Strength = Load at failure / Cross-sectional area of cube (N/mm²)
- A typical M20 concrete should have a strength of at least 20 N/mm² after 28 days.
Importance: This test ensures that the concrete meets structural requirements and safety standards.
- Flexural Strength Test
IS Standard: IS 516:1959
Purpose: It determines the ability of concrete to resist bending forces, mainly for beams and pavements.
Apparatus Required: UTM (Universal Testing Machine), rectangular beam mold (100mm × 100mm × 500mm), curing tank.
Procedure: Prepare and cure concrete beams for 28 days. Place the beam on two supports and apply load at the center using a UTM. Increase the load until the beam breaks.
Result Interpretation:
Flexural strength = (Load × Span) / (Width × Depth²)
A typical concrete beam should have a flexural strength of 3-5 N/mm².
Importance: This test is crucial for road construction, bridges, and long-span structures.
- Split Tensile Strength Test
IS Standard: IS 5816:1999
Purpose: This test evaluates the tensile strength of concrete, which helps in designing structures to resist cracking.
Apparatus Required: CTM, cylindrical molds (150mm diameter × 300mm height).
Procedure: Prepare and cure cylindrical specimens for 28 days. Place the cylinder horizontally in the CTM and apply a compressive load along its length until failure.
Result Interpretation:
Tensile strength = 2P / (πDL)
Typically, it ranges from 2-5 N/mm² for normal concrete.
Importance: This test helps in designing reinforced concrete structures where tension is a concern.
- Water Absorption Test
IS Standard: IS 2386 (Part 3):1963
Purpose: It measures how much water a concrete sample absorbs, which affects durability.
Apparatus Required: Weighing balance, oven, water tank.
Procedure: Dry the concrete sample in an oven at 100°C for 24 hours and weigh it (W1). Immerse it in water for 24 hours and weigh it again (W2).
Result Interpretation:
Water absorption = [(W2 – W1) / W1] × 100
Good quality concrete should have less than 5% absorption.
Importance: Helps in assessing the concrete’s resistance to water penetration.
- Rapid Chloride Penetration Test (RCPT)
IS Standard: ASTM C1202
Purpose: This test checks the permeability of concrete by measuring how much chloride passes through it.
Apparatus Required: RCPT testing setup, voltage source, concrete cylinder.
Procedure: A concrete cylinder is placed between two electrodes with one side in sodium chloride solution and the other in sodium hydroxide solution. A voltage of 60V is applied for 6 hours, and the current passing through is measured.
Result Interpretation:
If charge passed is < 1000 Coulombs → very low permeability
If charge passed is > 4000 Coulombs → high permeability
Importance: This test is essential for structures exposed to chloride environments like bridges and marine structures.
- Ultrasonic Pulse Velocity (UPV) Test
IS Standard: IS 13311 (Part 1):1992
Purpose: This test assesses the internal quality and homogeneity of concrete.
Apparatus Required: UPV tester with transducers.
Procedure: Place two transducers on opposite sides of a concrete surface and transmit ultrasonic waves through it. Measure the time taken for the pulse to pass through.
Result Interpretation:
Higher velocity (above 4.5 km/s) → good concrete quality
Lower velocity (below 3.0 km/s) → poor quality or cracks present
Importance: Useful for detecting voids, cracks, and assessing concrete quality without damaging the structure.
- Rebound Hammer Test
IS Standard: IS 13311 (Part 2):1992
Purpose: A non-destructive test to estimate compressive strength by measuring surface hardness.
Apparatus Required: Rebound hammer, smooth concrete surface.
Procedure: Press the hammer against the concrete surface and note the rebound number. Compare it with a standard chart to estimate strength.
Result Interpretation:
Below 20 → Weak concrete
20-40 → Moderate strength
Above 40 → Strong concrete
Importance: This quick test is useful for assessing in-place concrete strength without breaking samples.
- Abrasion Test
IS Standard: IS 2386 (Part 4):1963
Purpose: Determines the wear resistance of concrete, important for pavements and floors.
Apparatus Required: Los Angeles abrasion machine, steel balls.
Procedure: Place concrete specimens and steel balls in the rotating drum. Rotate it for a fixed number of cycles, then measure weight loss.
Result Interpretation:
Less weight loss → more durable concrete
More than 30% loss → weak concrete
Importance: Essential for high-traffic areas like roads and industrial floors.
Books
1.Design of Concrete Mixes – M.N. Shetty
2. Concrete Technology – M.S. Shetty
3. Concrete Technology: Theory and Practice – A.R. Santhakumar
4. Properties of Concrete – A.M. Neville
5. IS 456:2000 – Code of Practice for Plain and Reinforced Concrete
6. IS 10262:2019 – Guidelines for Concrete Mix Design
7. IS 516:1959 – Methods of Tests for Strength of Concrete
Conclusion
Concrete is the foundation of modern construction, widely used in buildings, bridges, roads, and other infrastructure projects. Its popularity is due to its high compressive strength, durability, and ability to be molded into any shape. As a mixture of cement, water, sand, aggregates, and sometimes admixtures, concrete can be designed for specific purposes, ensuring structural stability and longevity.
The strength and performance of concrete depend on various factors, including the water-cement ratio, curing process, quality of raw materials, and environmental exposure. Innovations in concrete technology, such as self-healing concrete, fiber-reinforced concrete, and eco-friendly alternatives, are improving the material’s sustainability and lifespan.
Concrete testing plays a crucial role in quality control, ensuring that structures meet safety standards and design specifications. Various testing methods—both destructive and non-destructive—help engineers assess concrete’s strength, permeability, durability, and potential defects.
From ancient Roman concrete to high-performance concrete used in modern skyscrapers and dams, this material remains the backbone of civilization. However, proper mix design, testing, and maintenance are essential to maximizing its benefits.
Concrete is not just a material—it is a science and an art that balances strength, durability, and adaptability. As research and technology advance, the future of concrete promises greater sustainability, efficiency, and resilience, shaping the cities and infrastructure of tomorrow.
Thank You Note
Thank you for taking the time to explore this comprehensive guide on concrete. Whether you are a civil engineer, contractor, architect, or student, understanding the science behind concrete and its testing methods is essential for ensuring quality and safety in construction.
We appreciate your interest and hope this guide serves as a valuable reference in your professional and academic journey. Keep learning, innovating, and applying the best practices to build stronger, more sustainable structures for the future.
If you found this guide useful, feel free to share it with others in the construction industry. Stay tuned for more informative content on construction materials and testing methods.
Happy learning and building!
Frequently Asked Questions (FAQs)
What are the main differences between Destructive and Non-Destructive Tests (NDT)?
Non-Destructive Tests (NDT): Assess concrete properties without damaging the structure (e.g., Rebound Hammer, UPV, RCPT).
What are the main non-destructive tests (NDT) for concrete quality assessment?
Rebound Hammer Test: Measures surface hardness and estimated strength.
Ultrasonic Pulse Velocity (UPV): Detects internal cracks and uniformity.
Rapid Chloride Penetration Test (RCPT): Assesses chloride permeability and corrosion risk.
Half-Cell Potential Test: Determines corrosion activity in reinforced concrete.
Carbonation Test: Identifies carbonation depth and risk of steel corrosion.
Infrared Thermography: Detects hidden defects using thermal imaging.
What are the common defects in concrete?
What is the water-cement ratio?
Why is curing important in concrete?
What is the role of water in concrete?
What is concrete made of?
Note for Readers
If you’d like to read this blog in your regional language or any other international language, simply click on the Google Translator option located in the bar at the top of the page. This feature allows you to select your preferred language and enjoy the content in a way that’s comfortable for you. We hope this makes your reading experience more enjoyable and accessible!
Disclaimer
This content is for informational and educational purposes only. Concrete mix design, testing, and construction practices should always follow relevant standards (IS, ASTM, BS, etc.) and be performed by qualified professionals. The results of concrete tests may vary depending on materials, environmental conditions, and execution methods. Always refer to official construction codes and guidelines to ensure accurate and safe implementation.
For more exciting topics, explore our other articles here
Coarse Aggregate Test: Field vs. Lab
6 Comments